lazy yogurt
Making yogurt is super easy, I’ve been trying to work out how to make it even easier!
I really hate tutorials that are “5 steps to the perfect pair of gelatine underpants”. What are the odds that perfect gelatine underpants takes 5 steps? This is “at least 16 steps to pretty acceptable yogurt”1.
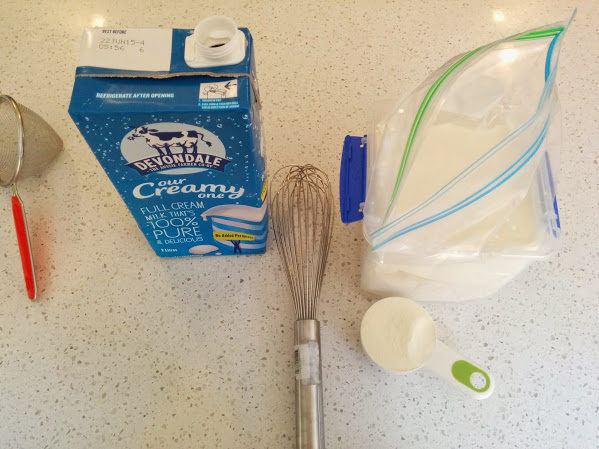
Things you’ll need
- Milk: My guess is that the milk only matters if you’ve got special milk. The difference between getting regular fresh milk and UHT seems to be undetectable once all the other factors come into play. This goes against my normal feelings about ingredients, but I need to remember who I’m feeding with this milk; namely the bacteria!
- Starter culture: I usually use a cheapo single serving tub from the supermarket (Pauls or Choibani) but this time I’ve got a posh starter that Blocker gave me.
- A big ziplock bag (If you are doing 2ℓ of milk, then get 3ℓ bags)
- A whisk (or just something to stir with that won’t poke holes in the bag - not a fork!)
- From here on is optional:
- Milk powder
- Scales
- Sous vide circulator
- Chux cloth on a roll
- Cheese strainer bowl (you usually buy ricotta in one of these)
- a bowl a bit smaller than the cheese strainer.
Steps
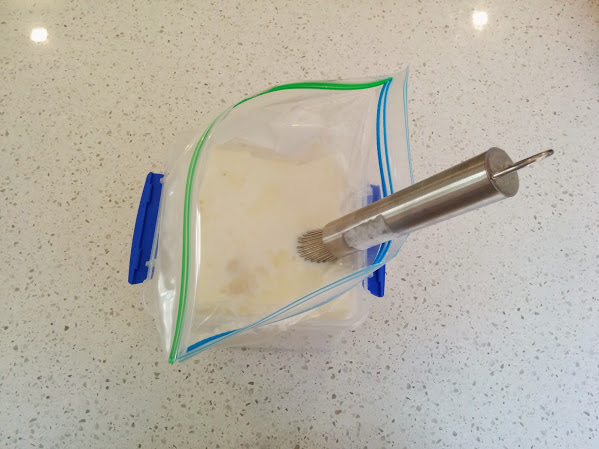
- Put a big ziplock bag into a tub that will take all the milk and then some.
- Then put the milk into the bag. This really keeps the washing up minimal as you just throw the bag out at the end.
-
I mix in a bit more milk powder here to give my bacterial buddies a bit more to eat. I usually put in 50g per litre of milk, but I am disorganised and couldn’t find my scales so I guessed the weight and put in 200ml of powder (weight is a much better way of doing things!)
- For a bit of a diversion here: If you want to add gelatine to your yogurt either for texture or for nutrition goodness then you’ll need to do the heating step from regular yogurt making to dissolve the gelatine.
-
I don’t bother with the heating step any more, I think it is supposed to be a hygiene thing, but my milk is UHT to start with. I’ve also seen experiments that say that it affects the stiffness of the final product. I don’t know the mechanism behind this though.
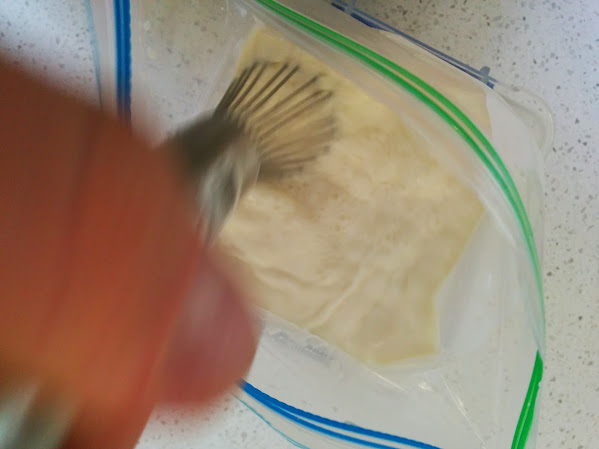
- Give it a good whisk. (I really like this whisk, $6 from red spoon)
- Add the starter culture.
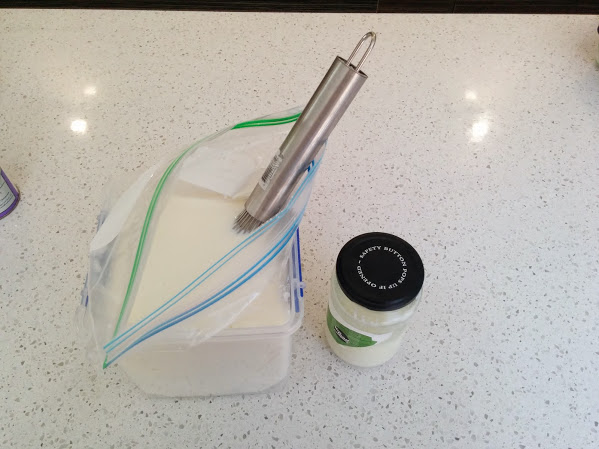
- Give it another good whisk
- At this point you can just close up the bag and stop if you live in a hot country. Yogurt seems to like to be at about 30°C so if your house is going to be about that for the next 12 hours then you are done!
Keep reading if you live in a colder place or if you want to have a nice thick silky result. (If you stop here it’ll be a bit runny.) - Put your bag into a water bath and use the water pressure to force the air out of the bag.
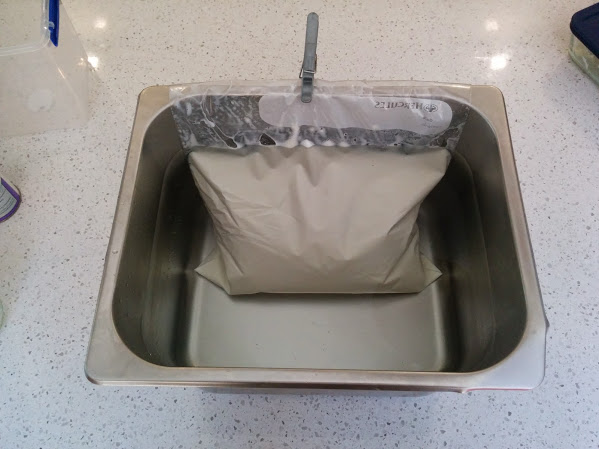
- Set the circulator for 30°C and do something fun for 12 hours; my favourite thing to do is sleeping.

- Once this is done you’ll have a pretty dodgy looking bag of white stuff and whey. Check that it fits into your cheese strainer. (If it doesn’t things are goi
-
probably more than 16 steps once I’ve gone off on some tangents ↩